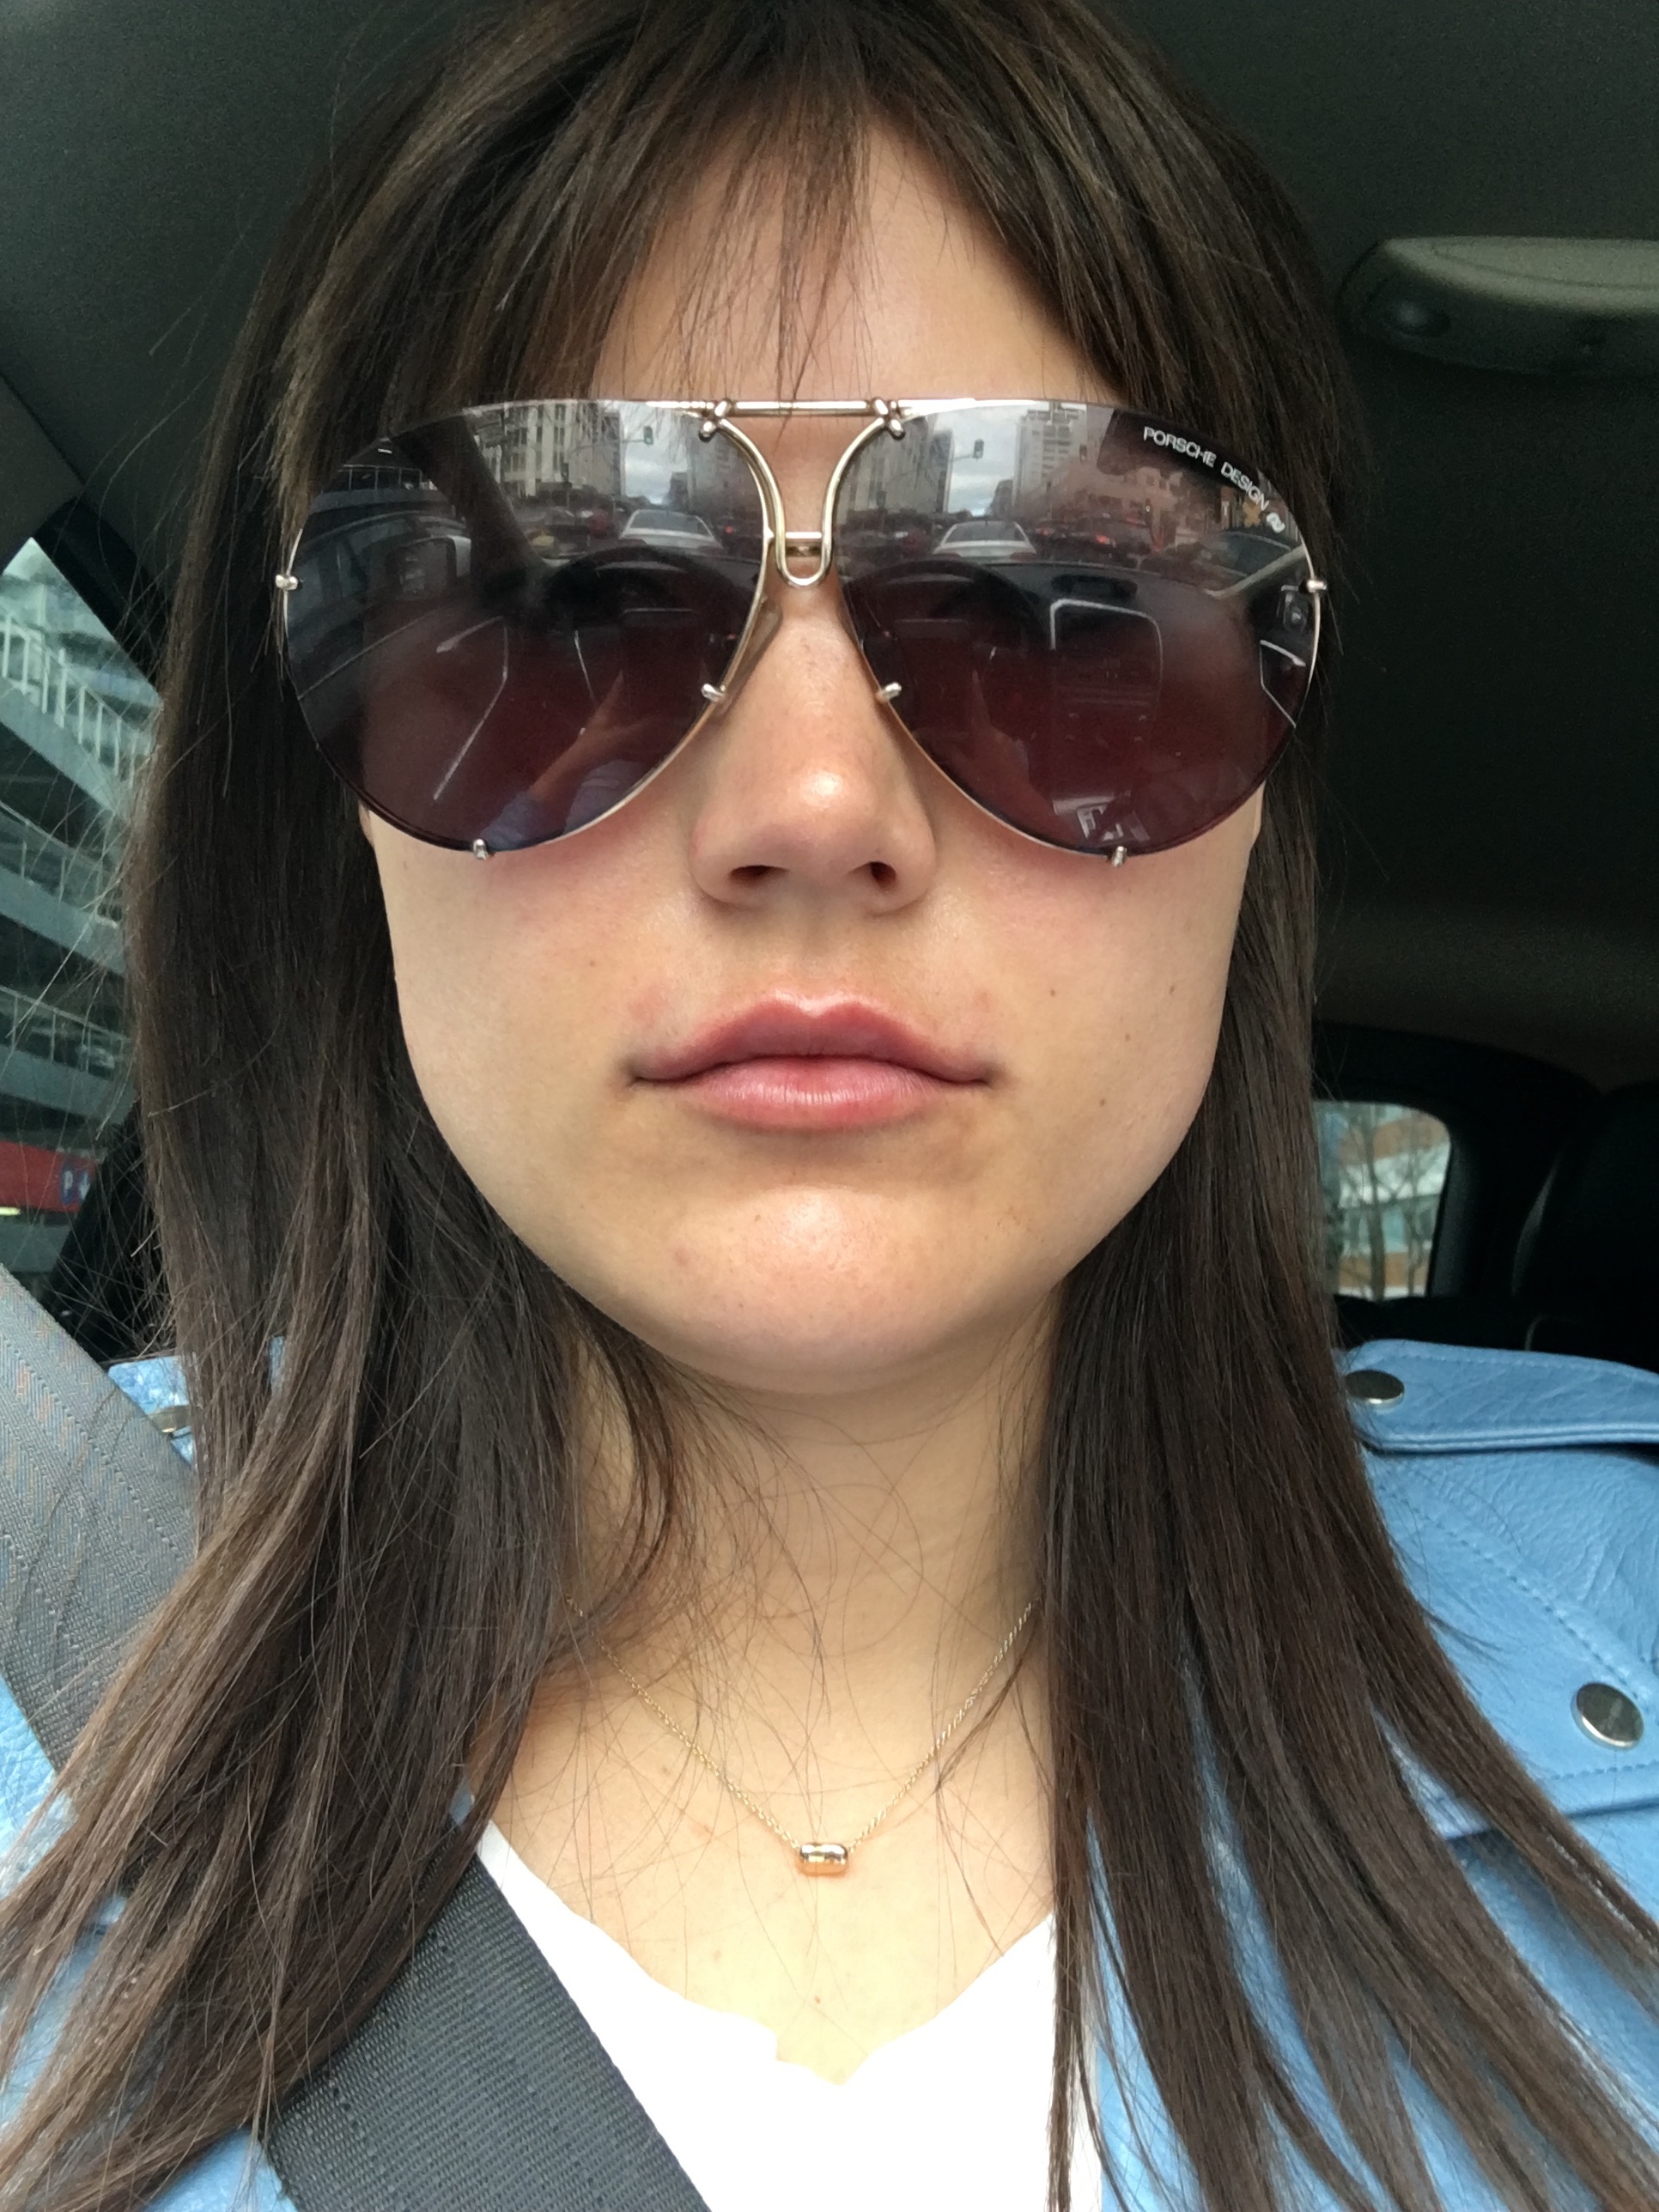

I'm no makeup artist, and I don't wear a lot of makeup during the day unless I know I have somewhere to go/someone to see. I often get asked what products I use when I do have makeup on so thought the best way to show you all was to film myself. This is my 5 minute quick makeup look, my routine is a little different to the average person, I'm not using mascara for obvious reasons and my eyeliner is rather heavy to create depth giving the illusion of lashes. If I spend more time or wear shadow, I smudge out the eyeliner to give it a softer look with a create liner and shadow.
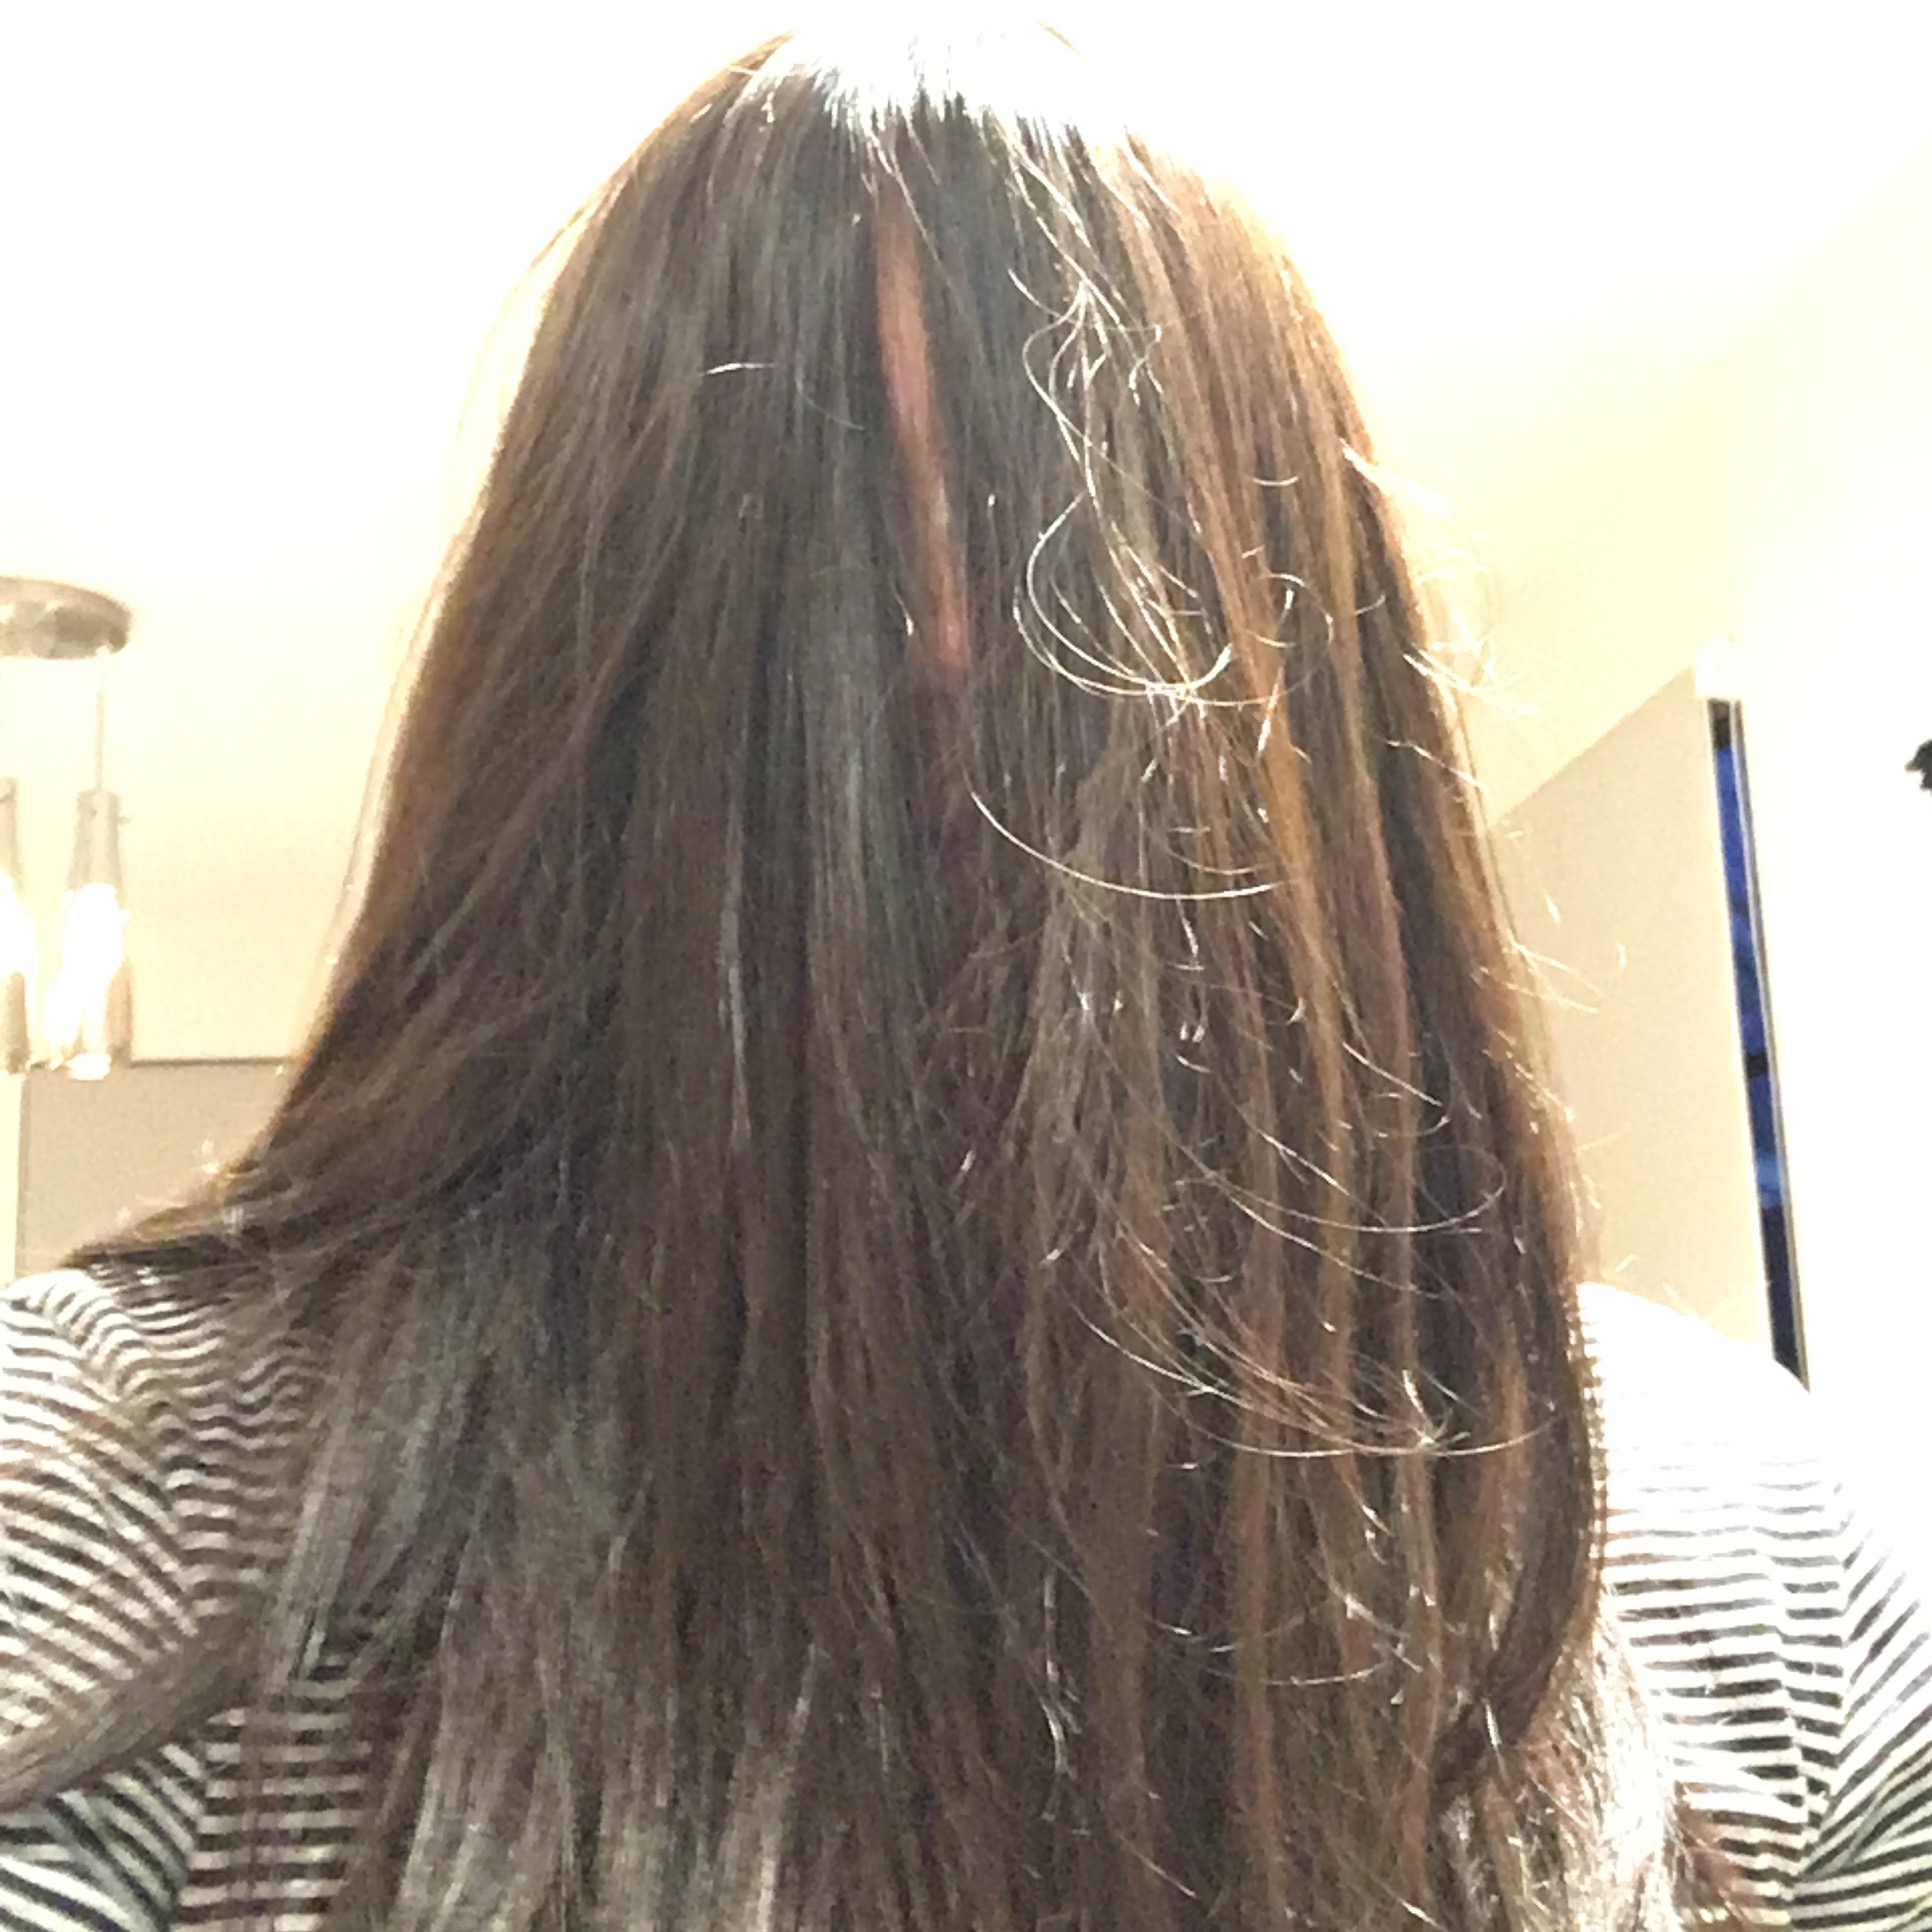
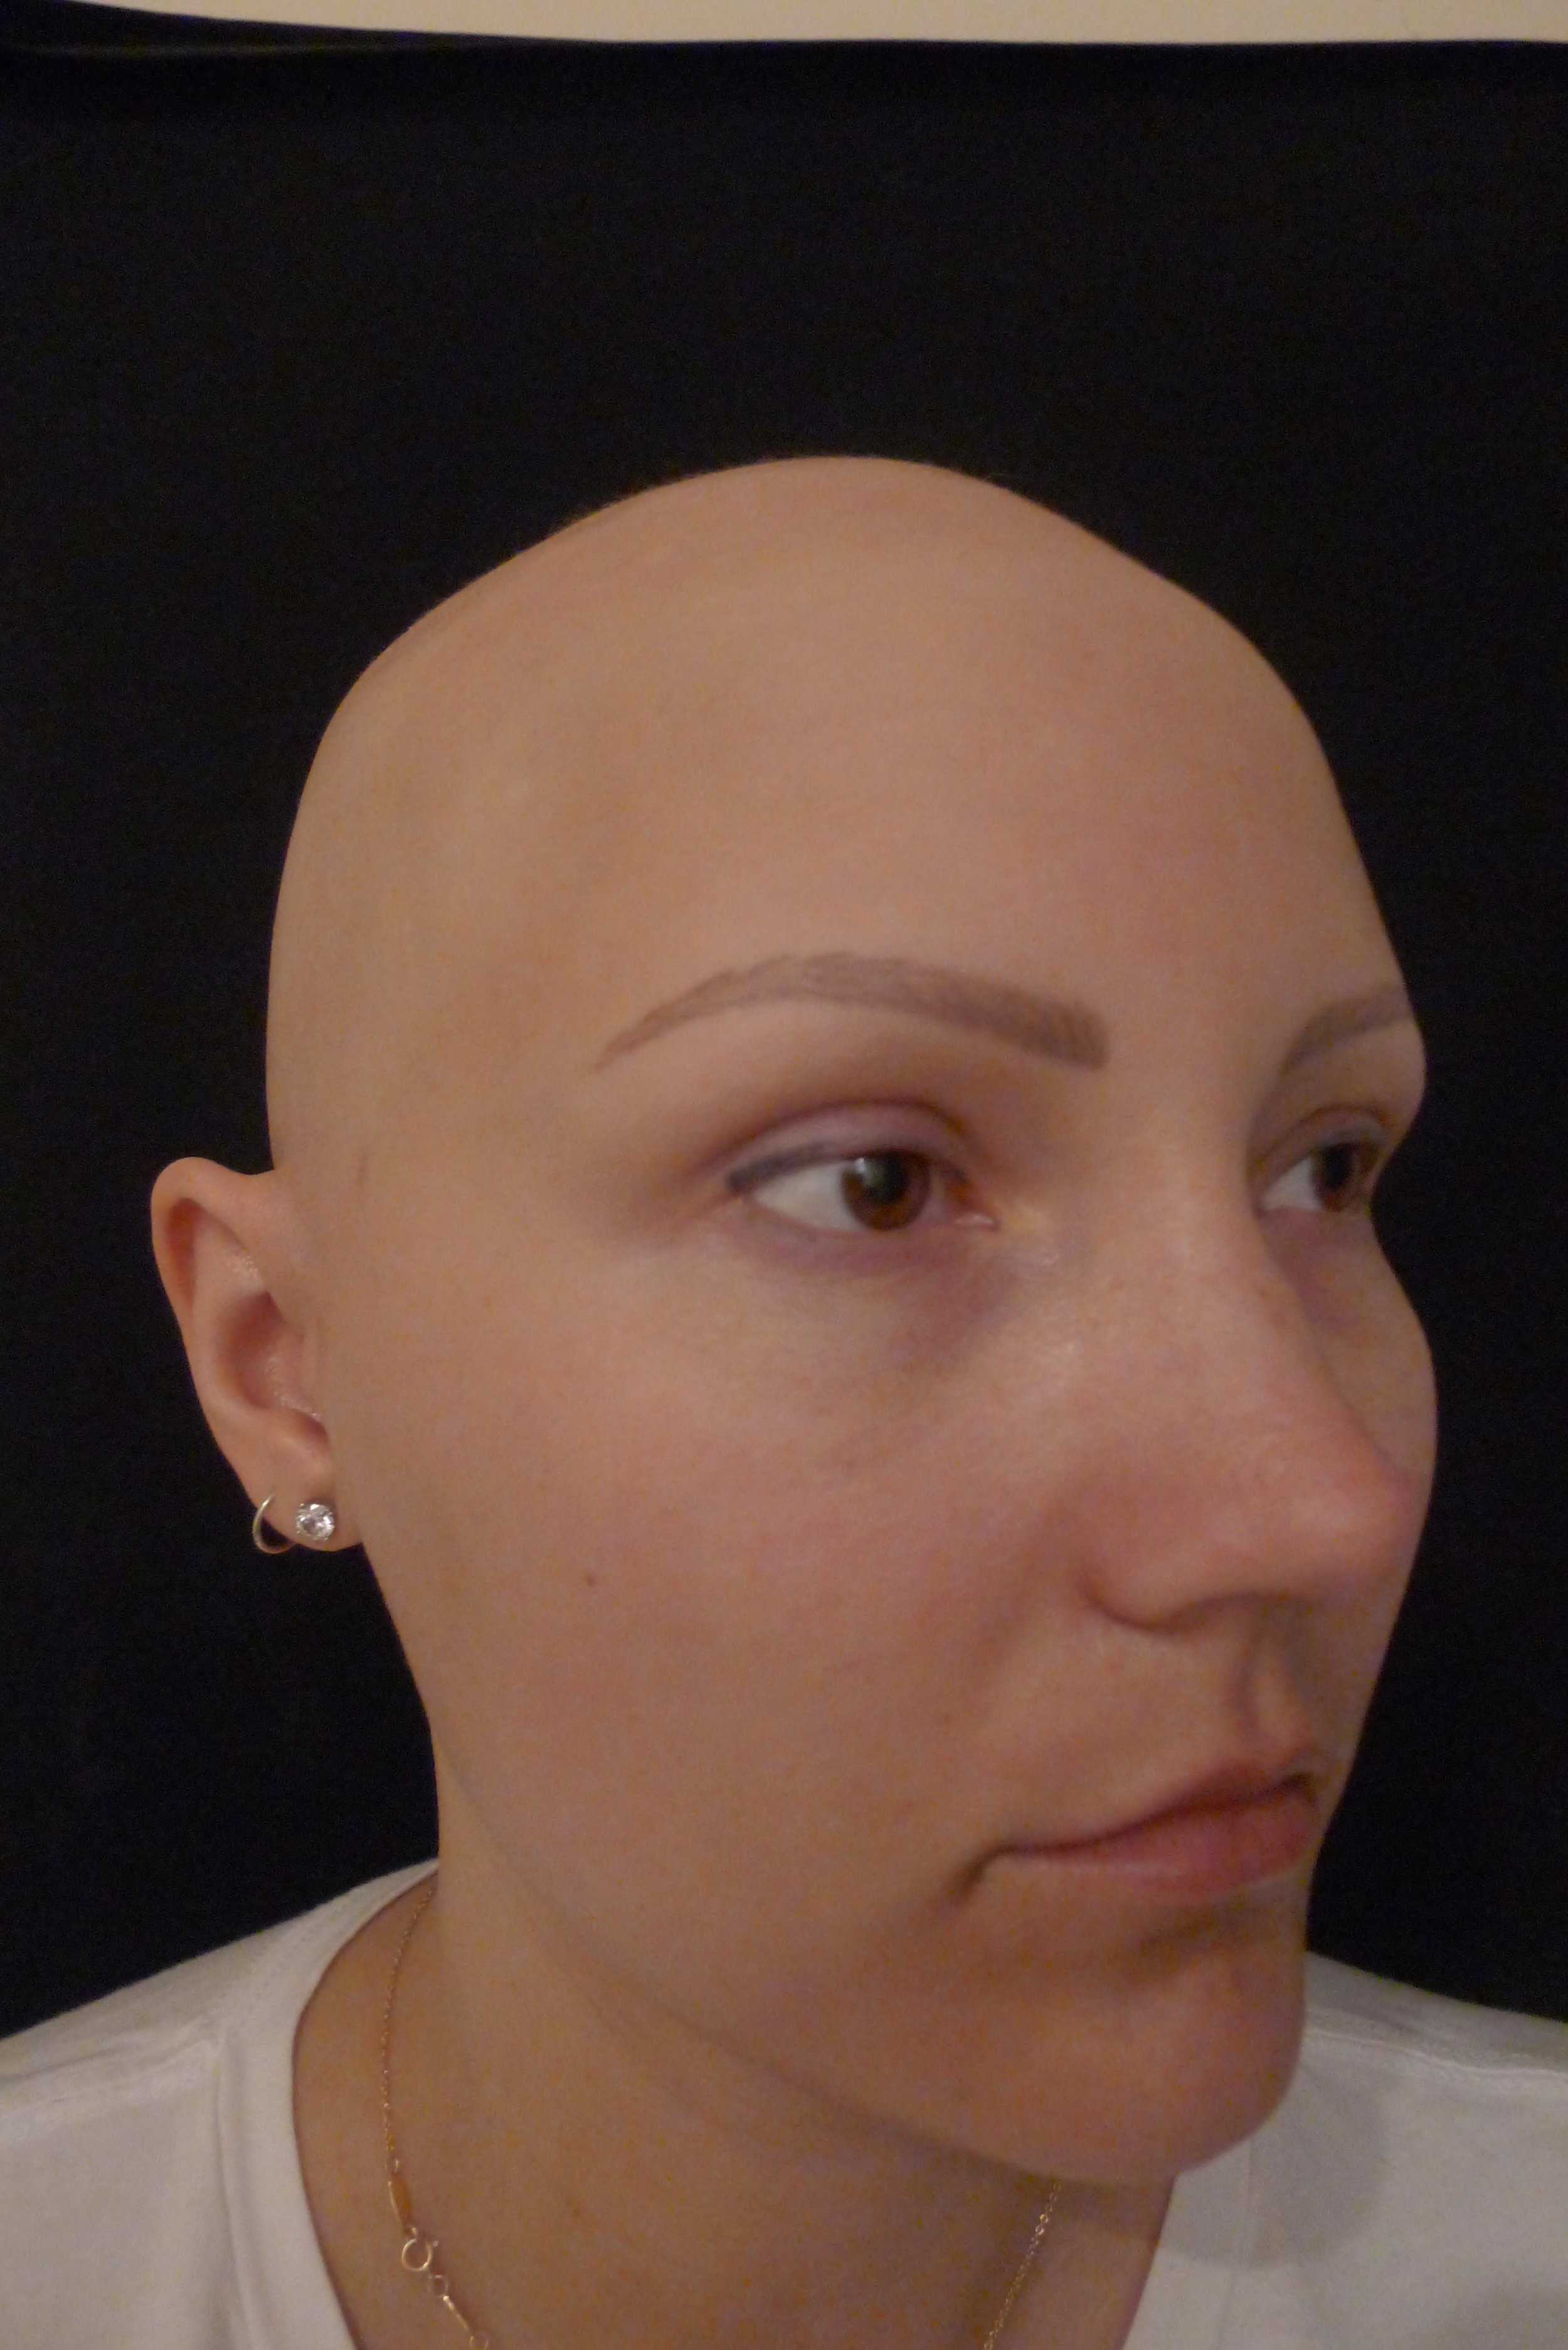
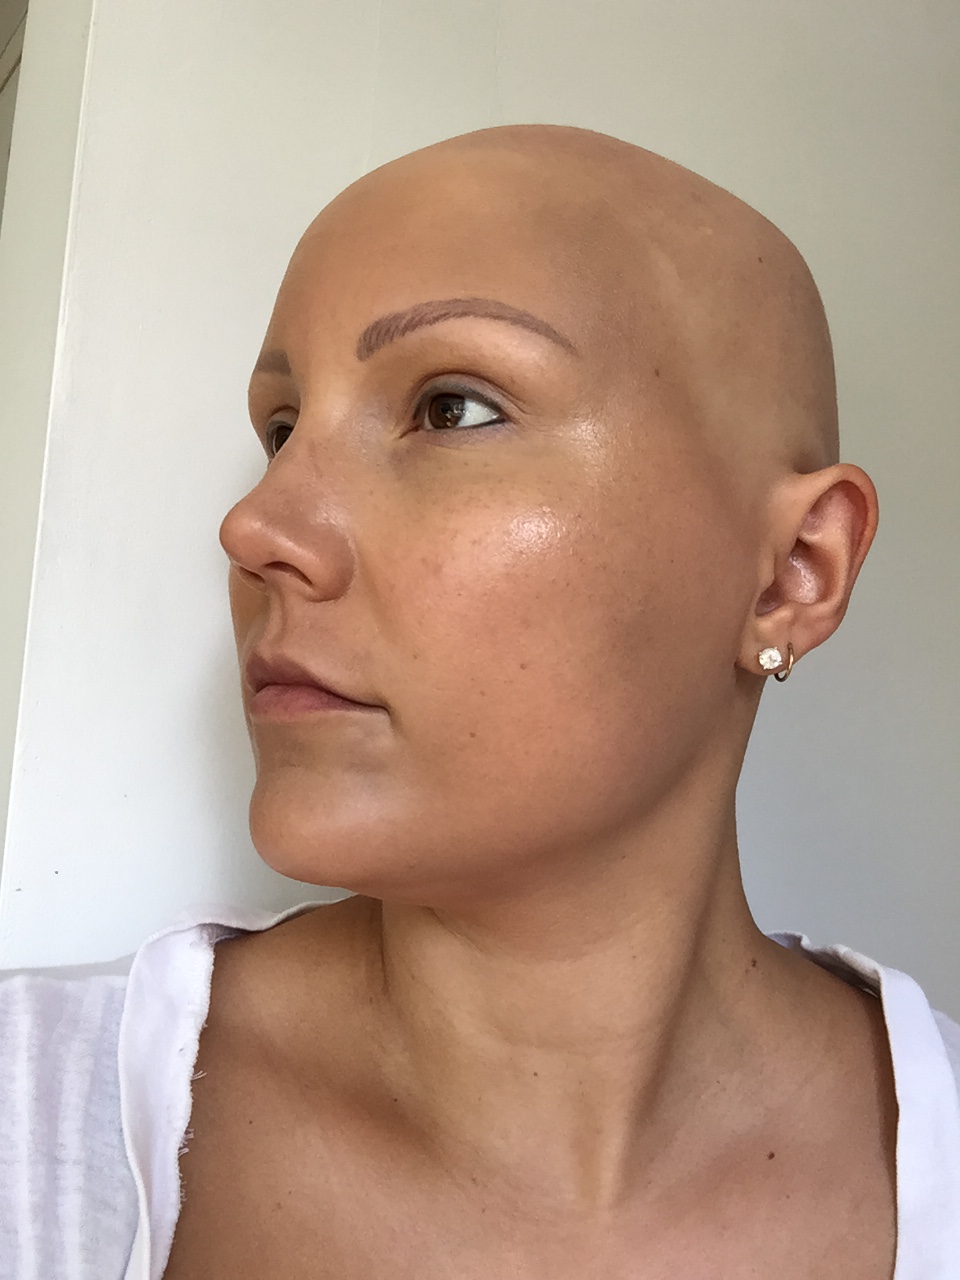
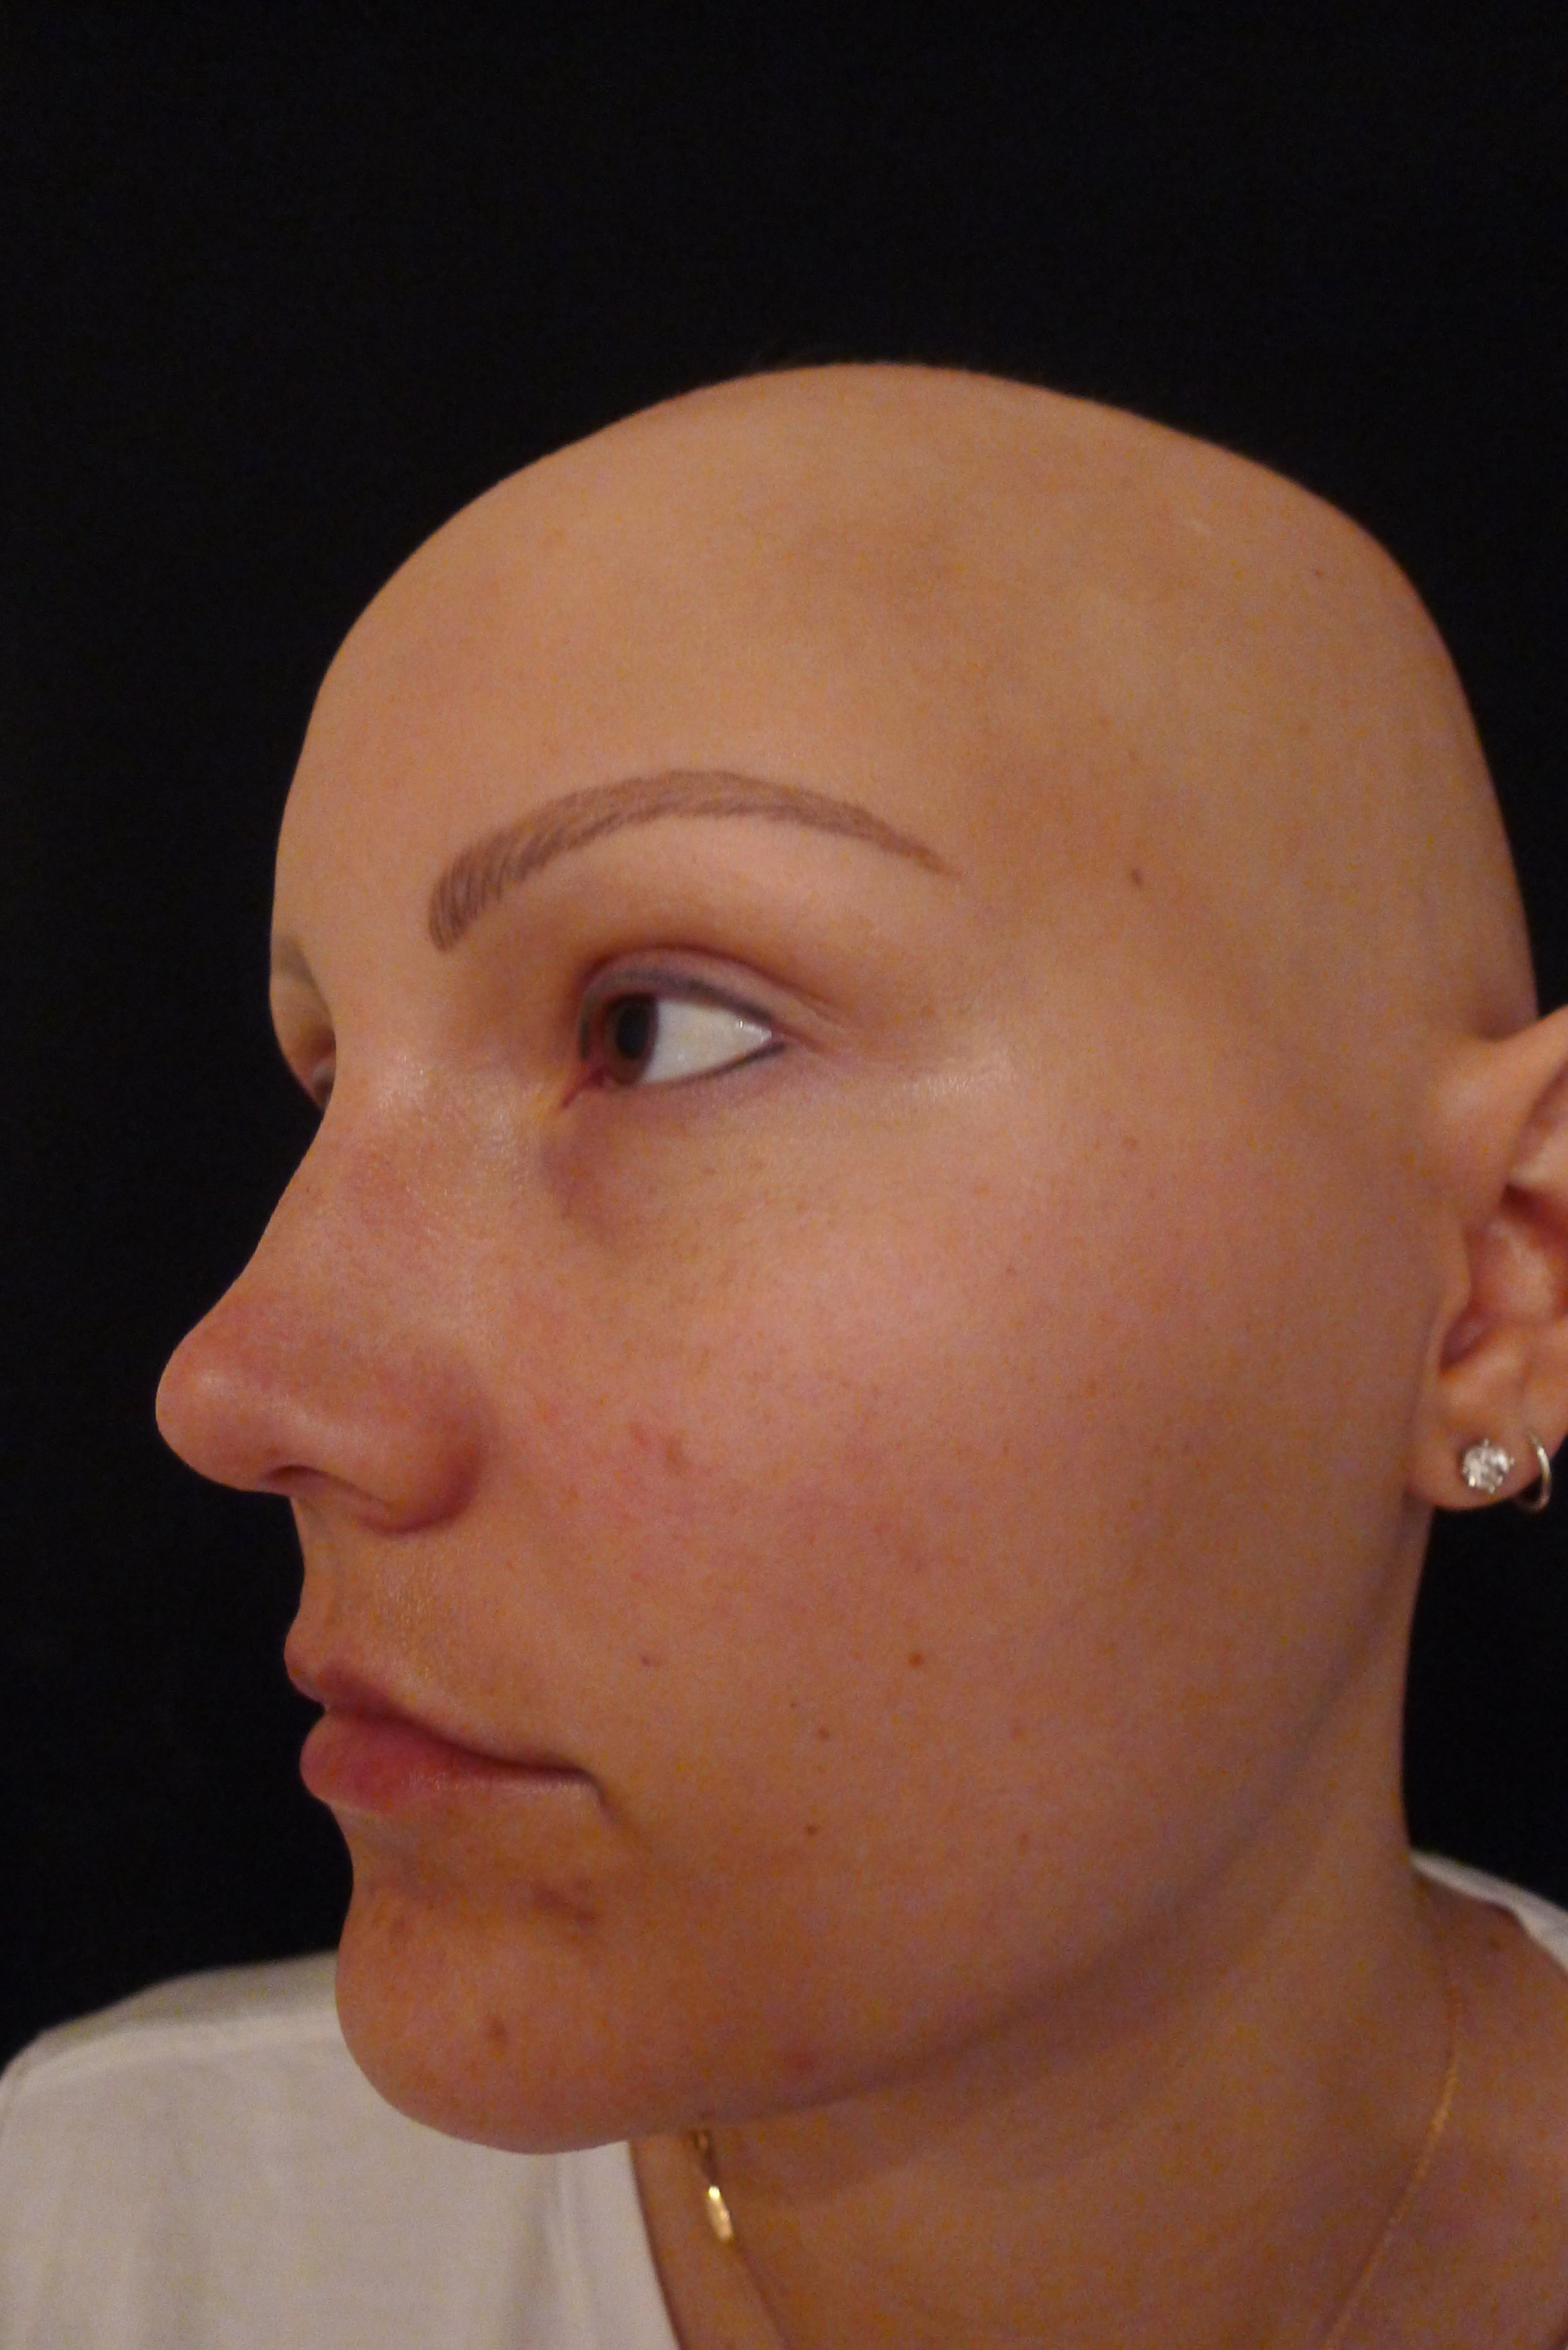
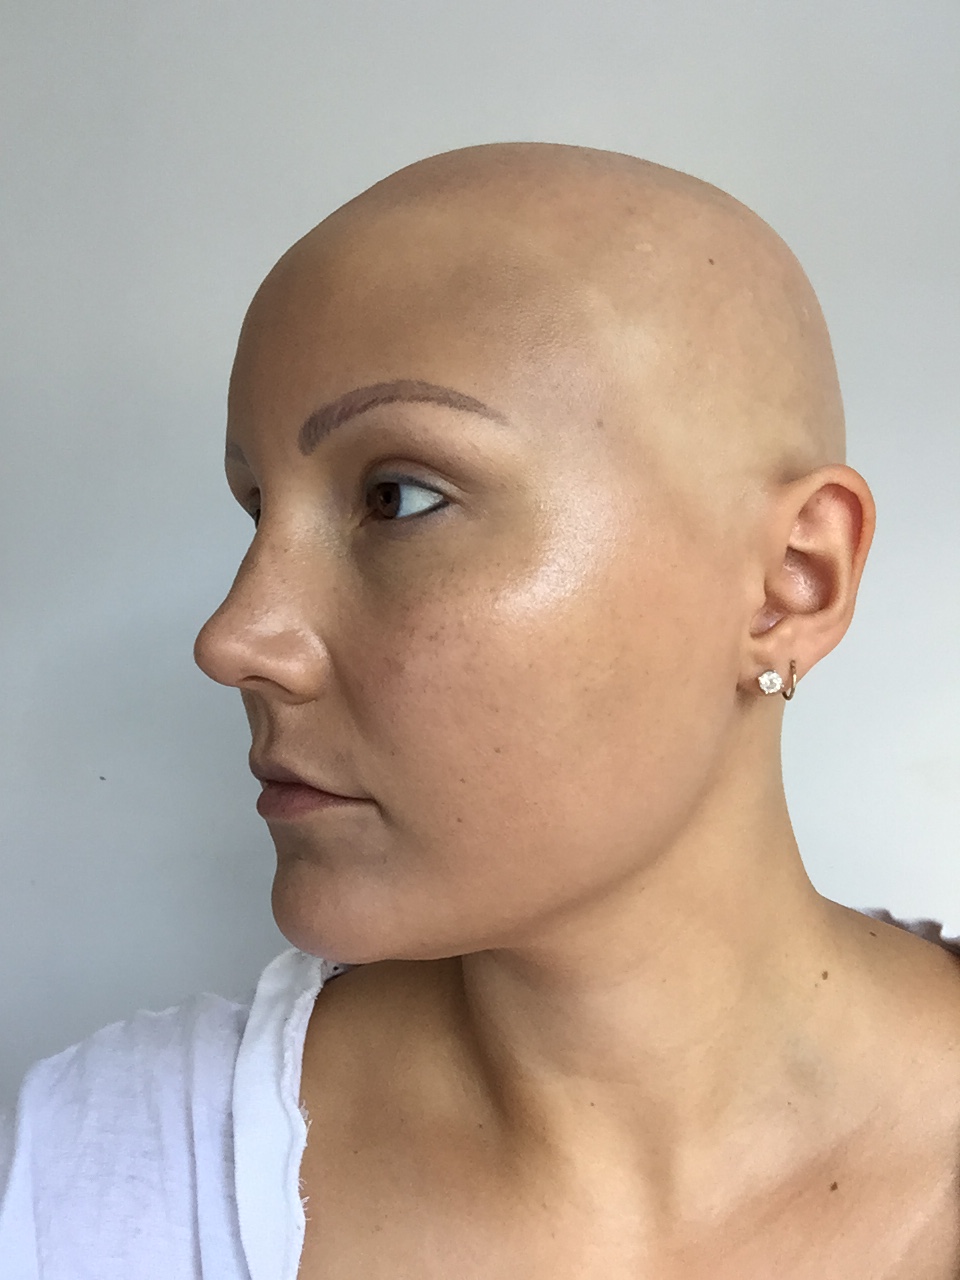
My brows are tattooed and I fill them in, I'm still learning as I never used to draw my brows in before I had them, whenever I tried they would end up wonky! Not a good look. You can also see a faint line of black around my eyes while I have no makeup on, I had them tattooed when I was 20, it has faded but it was never quite right so I always still lined them.
So hear we go, my first foray into filming myself. After the video are all the details about the products I used, some are old favourites and some are newer items but all my absolute favourite things to use day to day at the moment.
[wpvideo 48dthXp9]
Elizabeth Arden Superstart
This is something new I have been using and I really love it! In short it helps support the surface layer of your skin - whereas most of the products you use are usually made to support the lower dermis layer of your skin - so it makes your skin's surface look really healthy, smooth and supple and it helps the products you apply after it work to the best of their ability. I usually apply it before moisturiser and serums, but add it as a priming step before wearing the following foundation.
Elizabeth Arden Prevage Anti-Aging Foundation
As mentioned above, the reason I wear Superstart before applying this foundation is because this foundation is a new formula that holds anti-ageing properties. If I'm wearing foundation it's nice to know its actually doing something for my skin at the same time! The Superstart helps the Prevage foundation do its thing! Added bonus having Alopecia, can blend my foundation right out so there are no lines at the hair line.
M.A.C Mineralize Concealer
My favourite concealer, such a dewy finish and never creases in the delicate skin underneath the eye. I always apply it with a brush and pat it into the skin. Some people apply concealer first, but a makeup artist told me years ago to do it after your foundation, that way you can see what that doesn't cover and go from their. Otherwise you run the risk of going OTT on the concealer trying to cover every little blemish that your foundation may have covered anyway.
M.A.C Trip The Light Fantastic Powder
When I fist saw this blush I thought it would make me look so orange..but turns out it is the best blush I have ever used! I used to always go for pink blushes but turns out orange/red based blush is my jam. Never have had so many compliments on my rosy cheeks since I started wearing this.
Elizabeth Arden Sunset Bronze Highlighter
If you follow me on snap chat you know how often I talk about this highlighter, it's my favourite and looks so beautiful on. Sadly it's limited edition so get it while it is still in stock! I have bought 4 of them so hopefully they last me a long time!
Elizabeth Arden Natural Brow Pencil - Brunette
I bought this gem at Farmers in Mount Maunganui when I was down there visiting my in-laws as my previous pencil ran out. It's the perfect colour for me especially when jumping between my lighter and darker wigs, it seems to suit all of them and never looks too light or dark. After 23 years with no brows, I'm still a newby to filling them in but getting better by the week!
Mac Boot Black Liquid Eyeliner
I have been wearing this eyeliner everyday since I was about 14, it's my go to and always goes on perfectly. Its super pigmented (i like my eyeliner jet black!) and doesn't move throughout the day.
Urban Decay 24/7 Glide On Eye Pencil
I bought this at Duty Free when travelling to Australia and month ago and I'm loving it, its very black and once it sets it's waterproof and doesn't move. I hate having to re apply makeup through the day, it's not my thing so my favourite products are ones that go the distance.
Elizabeth Arden Eight Hour Cream Lip Palette
Eight Hour Cream was one of those staples I grew up with, my mum always had it and I was forever stealing it. Perfect to use on anything that needs some help combating dryness. I still use it regularly and loved when I saw it in a coloured lip palette with 3 hues, all the moisture with a hint of colour and in a really easy handbag sized palette.
Is there any other videos you would like to see me film? Everyone seems interested in my wig so thought you may like to see how it all work and how I put it on?

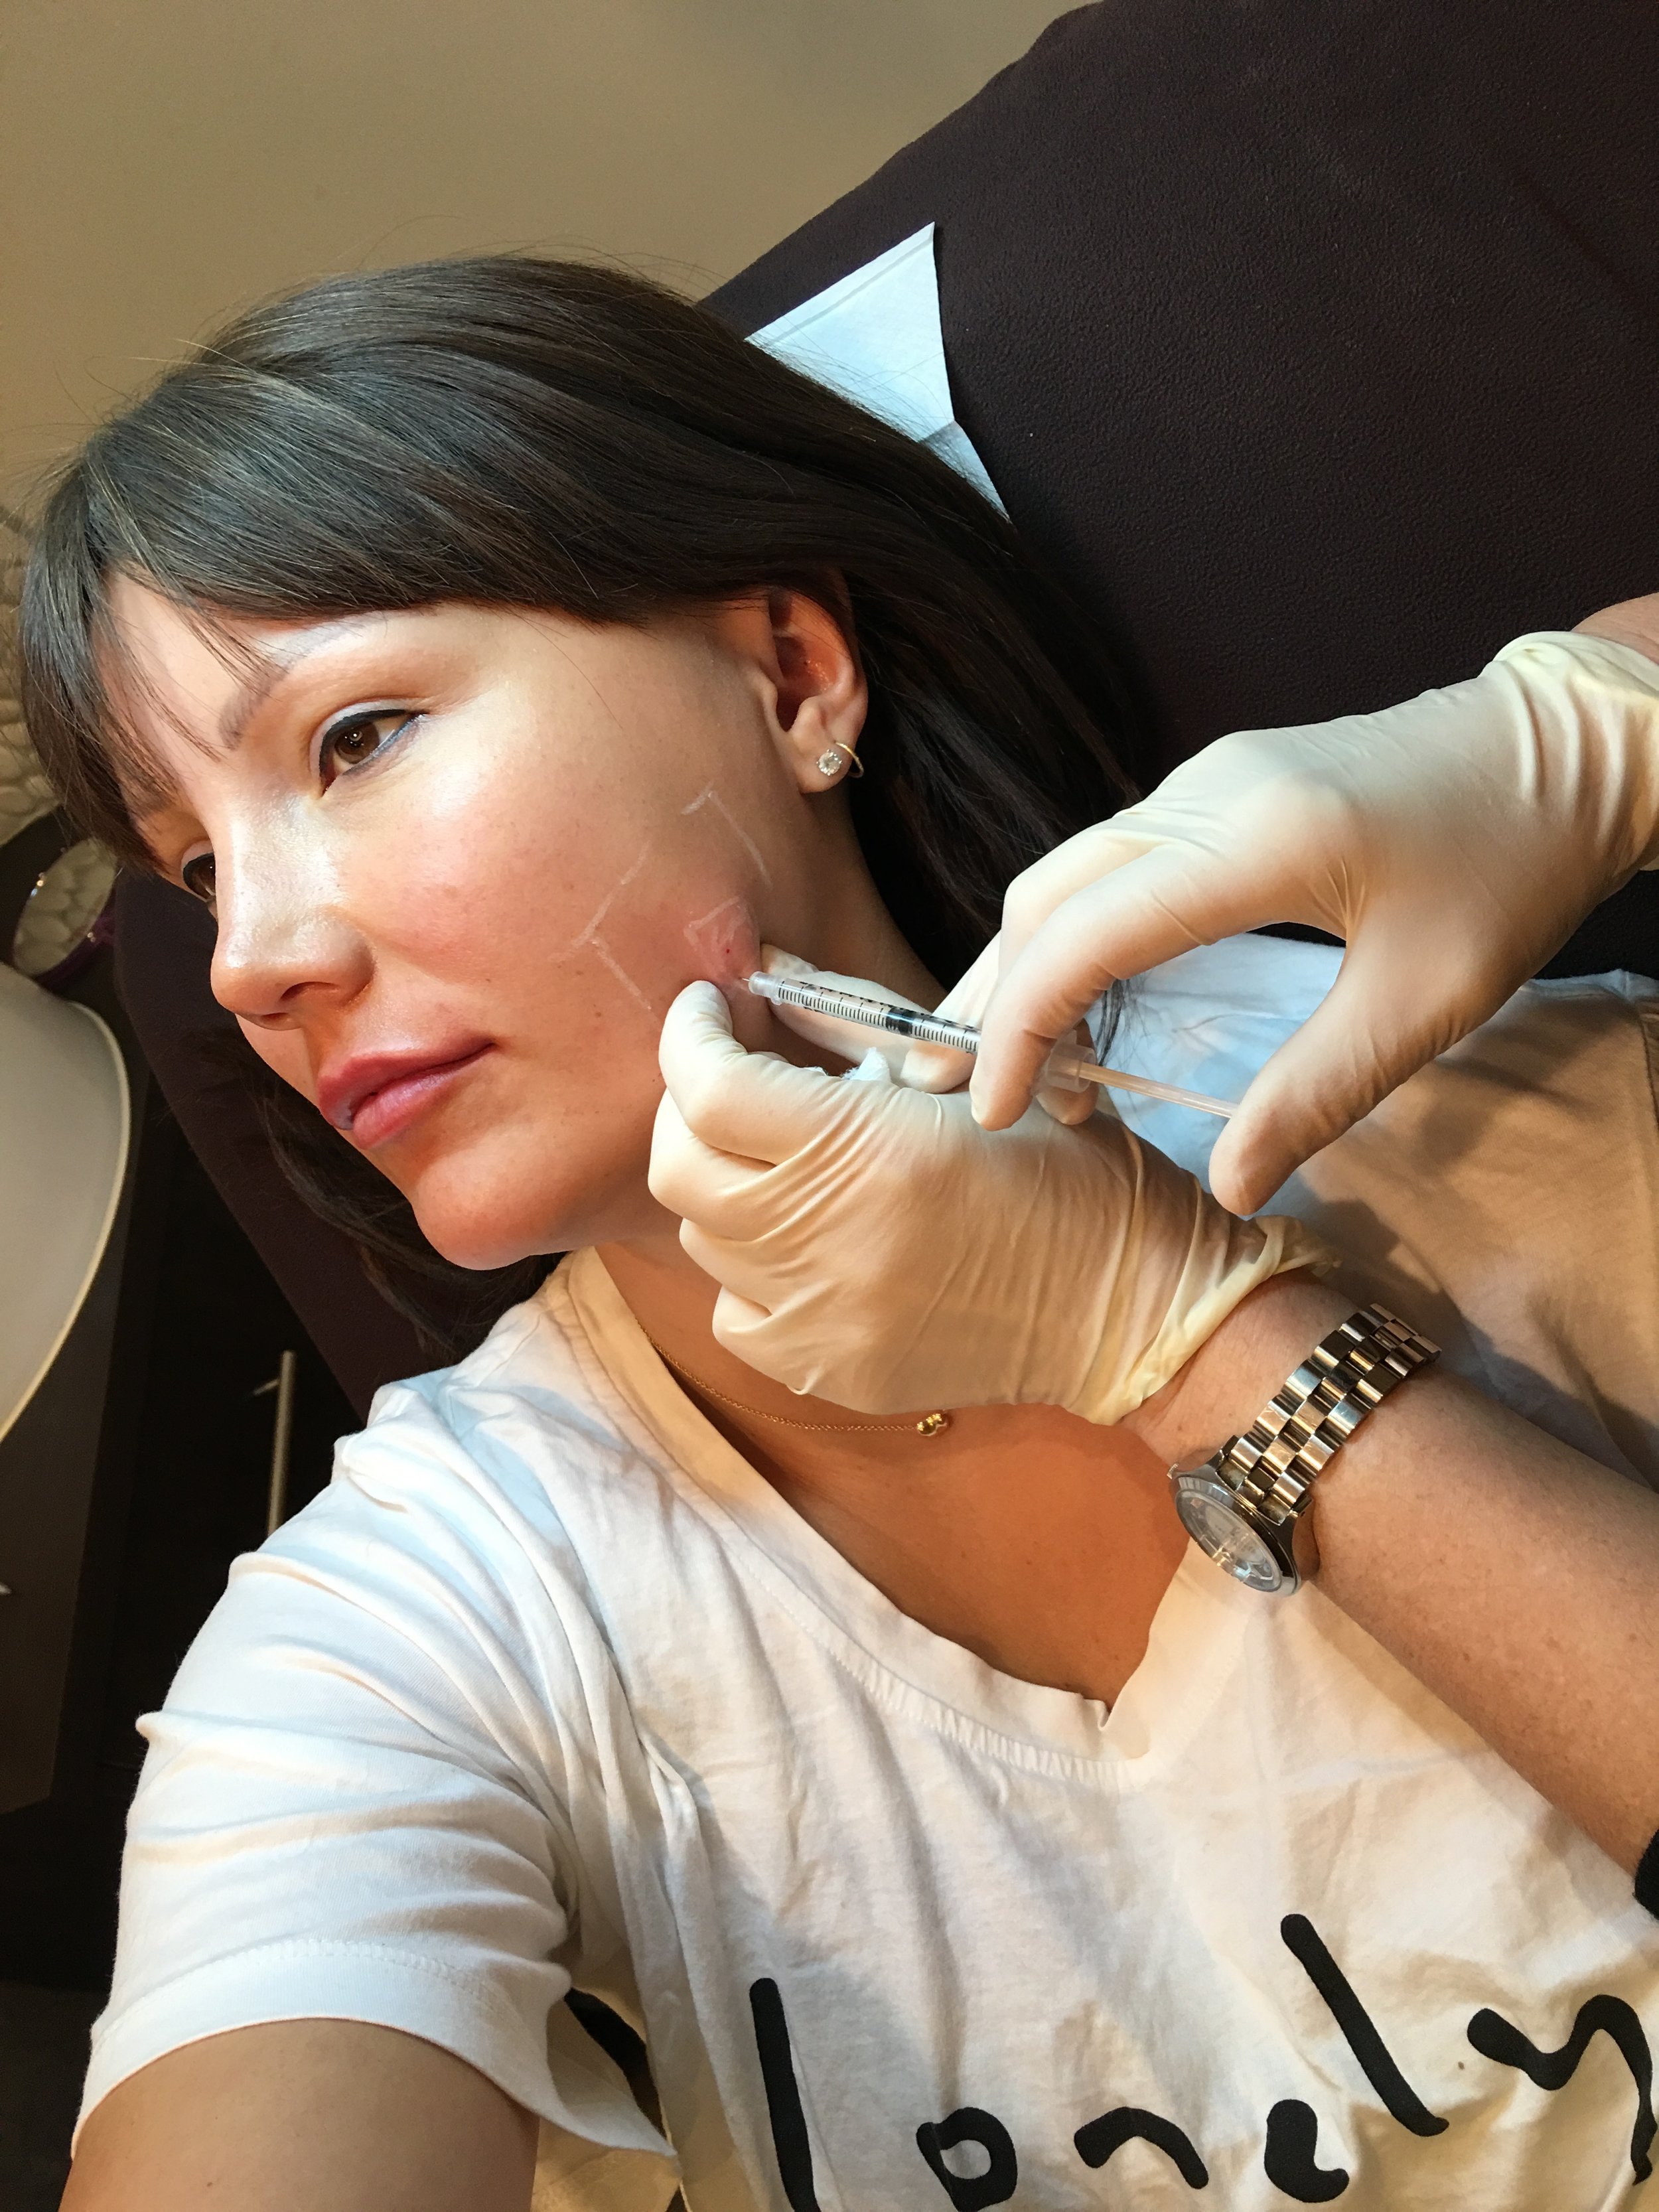
 That incredible skin I mention, she keeps it as natural as possible to keep it looking the way it does.